Guides · Clinical photography
Intraoral photography with a phone
The lens, the light and the standard views, so a phone photo is good enough for your supervisor, your lab and your portfolio.
A DSLR with a macro lens and ring flash is still the reference for dental photography. Most students don't have one, and they don't need one to start. A recent phone takes clinical photos that are sharp, even and true to colour, as long as you control three things: distance, light and angle.
1. Use the right lens: step back and zoom in
The phone's main lens is a wide angle. Up close it bends the arch: front teeth look too big and the posteriors shrink away. So don't hold the phone 10 cm from the mouth.
- Switch to the 2× or 3× camera (the telephoto lens, if your phone has one) and stand back until the frame fits.
- If your phone has no telephoto lens, use 2× on the main camera. It loses a little detail, but the shape stays true.
- Avoid the ultra-wide (0.5×) lens and the phone's macro mode for whole-arch views. They distort the most.
2. Turn off what the camera "improves"
- Flash off. The phone flash sits next to the lens and burns a white hot spot onto wet enamel.
- Portrait mode, beauty filters and "scene" AI off. They smooth tissue and shift colour.
- Lock focus and exposure. Tap the tooth and hold until the lock appears (AE/AF lock on iPhone; most Android cameras work the same way), then slide exposure down a little so enamel isn't blown out.
- Grid on. Line the occlusal plane up with a horizontal line and the midline with a vertical one.
3. Light: one even source, not the dental light
The operatory light is yellow and comes from one side, so it casts shadows and the colour is off. Turn it away. A small LED light made for dental photos, or a ring light on the phone, gives even light. If you have nothing, a bright window works for portraits, never for shade.
4. The standard views
Faculties differ, but most case documentation uses some version of this series. Take the same views at every stage (pre-op, during, final, follow-up) so before-and-after pairs line up.
| View | How |
|---|---|
| Frontal, retracted | Cheek retractors in, teeth slightly apart, phone square to the midline, occlusal plane level. |
| Right and left buccal | Pull the retractor on that side back hard, or use a buccal mirror. Aim at the canine and premolars so the first molar is in the frame. |
| Upper occlusal | Occlusal mirror against the lower teeth, patient's head tilted back, shoot the reflection from below. Flip the photo afterwards. |
| Lower occlusal | Mirror against the upper teeth, tongue behind the mirror, shoot from above. Flip afterwards. |
| Close-up | The tooth you treated, filling most of the frame, at 2× or 3× from a distance rather than close with 1×. |
| Face and smile | Only for aesthetic and orthodontic cases, and only with consent. Natural smile, eyes level. |
5. Mirrors and retractors
- Warm the mirror in warm water or use anti-fog before every mirror shot, or it fogs as soon as the patient breathes.
- Ask the patient to breathe through the nose while the mirror is in.
- Dry the teeth with air and remove saliva bubbles. Spit and foam are the commonest reason a photo is unusable.
- Shoot the mirror at about 45°, so the mirror's edge and your fingers stay out of the frame.
- Have a classmate or assistant hold the retractors. Two hands on the phone is half the battle.
6. Mistakes that ruin a clinical photo
- Shooting at 1× from close up (distortion).
- Flash or the dental light (hot spots, wrong colour).
- A tilted occlusal plane (looks careless, and before-and-after pairs don't match).
- Lips, fingers, cotton rolls or the suction tip in the frame.
- Saliva bubbles and a fogged mirror.
- Forgetting the pre-op photo. You can't go back for it.
7. Privacy: where the photos go
Clinical photos are patient data. Get consent, never show a face or name in anything you post, and don't leave them in your gallery and WhatsApp groups, where they're synced, shared and easy to lose. Keep them filed with the case they belong to.
How OnlyTeeth helps
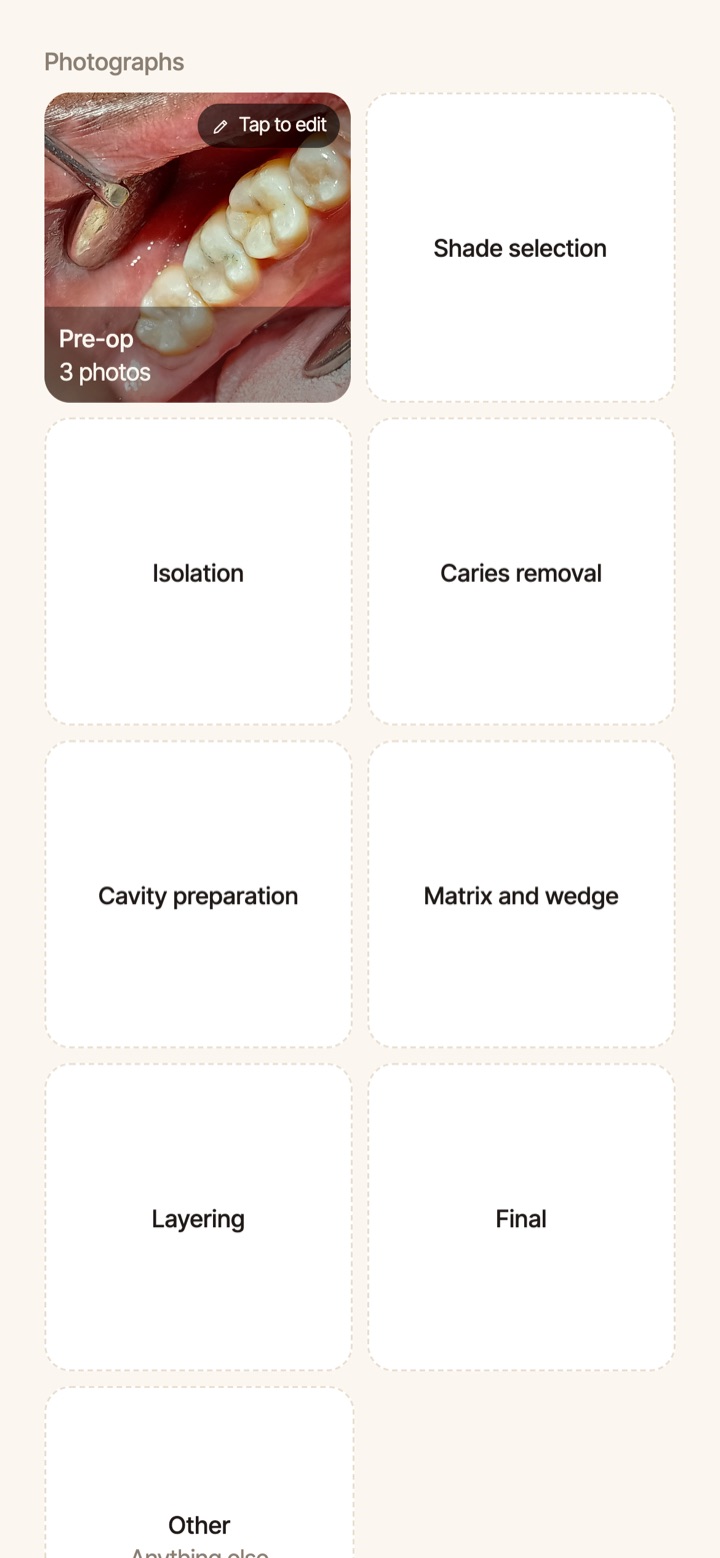
OnlyTeeth's camera has a guide for every view, so you frame the arch the same way each time. Every photo is filed under its case and its stage, from pre-op to final, in private storage, not in your gallery. Before-and-after pairs come out lined up. The camera guides are part of the free plan.
Questions
Is a phone good enough for a case presentation?
Yes, for most student cases, if you use the telephoto lens, even light and the standard views. Where a phone falls short is fine surface detail and exact colour. Use a camera or the lab's shade photos for high-end aesthetic work.
Should I flip mirror photos?
Yes. A mirror photo is reversed, so flip it horizontally before you show it, or the patient's right side ends up on the left.
Can I send clinical photos to the lab on WhatsApp?
WhatsApp shrinks photos and changes their colour. Send them as a document (a file, not a photo), or from your case app.
More guides: Shade photography · Keeping a dental case log · Tracking your requirements